A paper airplane that flies forever? 】Easily fold a magical paper airplane with super long-lasting flight in 5 minutes✈️ A must-play for parents and children!
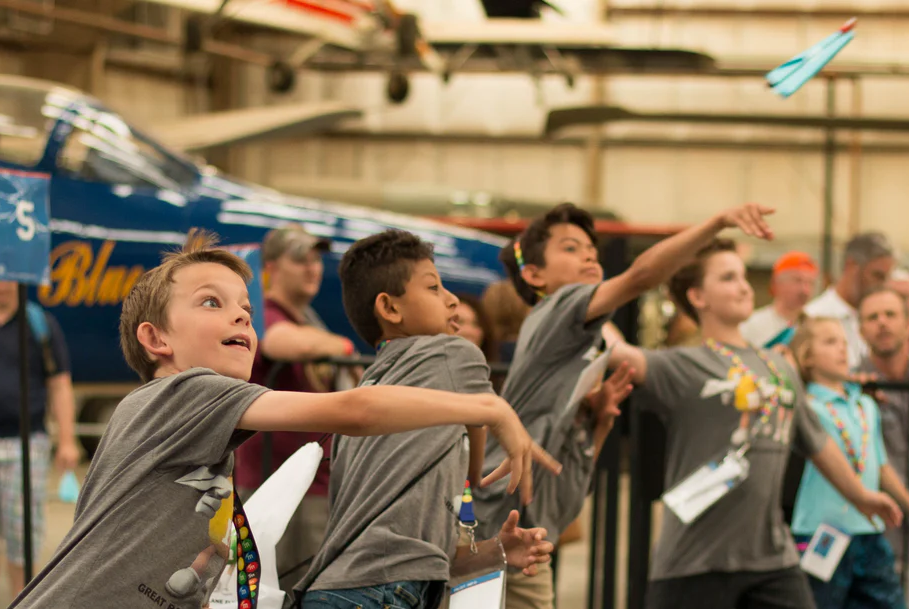
Do your kids love making origami airplanes? But every time I dropped it, the plane crashed, and I often asked, "Why do others fly farther?"
In fact, whether a paper airplane can fly high and far is not just a matter of folding it, but also hides many "little secrets of flying"! Today, let us take you and your children to explore 3 super cool ways to fold paper airplanes, combining science, creativity and parent-child fun. Whether it is a competition at home, a school performance, or a weekend parent-child activity, it is super fun!
📦 What does this article teach you?
- 3 ways to fold paper airplanes for kids, from beginner to advanced
- Cylindrical paper airplanes, paper airplanes that can "fly back and forth", and rocket-shaped aircraft are all available.
- Included is a DIY tutorial for making a paper airplane launcher. Let your family build a launch site together!
- Selected practical tips to help parents become the "aircraft engineers" in their children's minds
🛫Why can’t children’s paper airplanes fly far? You may have overlooked these key points:
✅ Center of gravity position: If the center of gravity is wrong, the aircraft will sway like a drunk. Tip: You can add a little tape to the front to increase stability. ✅ Wing proportions: bigger is not always better! If it is too big, it will float; if it is too small, it will not fly. Teach your children to find the "just right" golden ratio. ✅ Paper material: Thin paper won’t fly, thick paper is too heavy to fly far? Choosing the right paper is the first step. ✅ Crease skills: teach children how to fold neatly and symmetrically to improve flight mechanics. ✅ Launching angle and technique: Let your child try different throwing methods to find the farthest throw!

1. How to fold a flying machine called a "cylindrical paper airplane" using A4 paper.
Features of cylindrical paper airplane
Flying principle: The flight stability of this paper airplane comes from its rotation speed. The faster it rotates, the greater the lift generated.
Airflow effects: Small surface irregularities cause air to form a boundary layer over the aircraft surface, which helps improve flight performance.
Origami steps
Materials: Use a piece of A4 paper measuring 8.5 x 11 inches.
fold:
With the long side of the paper facing up, fold the paper into thirds of its length, making sure the folded portion is slightly larger than the unfolded portion.
Fold the folded part in half again to form a thicker layer.
Use the edge of the table to reinforce the crease and make it more pronounced.
Forming the aircraft structure:
Flip the paper airplane over, unfold the last fold, and tuck the corner of one end into the other to form a cylinder shape.
Make sure all the creases are flat so the plane will fly smoothly.
Flying skills
Throwing method: Throw the plane like a football and give it a spin, which can increase the flight distance.
Suitable environment: This aircraft is suitable for indoor flight, but may be affected by wind when flying outdoors.
2. How to make a paper airplane launcher.
Production time: 1 to 5 minutes
Materials to prepare: colored paper, small rubber bands, unwanted postcards (can be replaced with cardboard), stapler
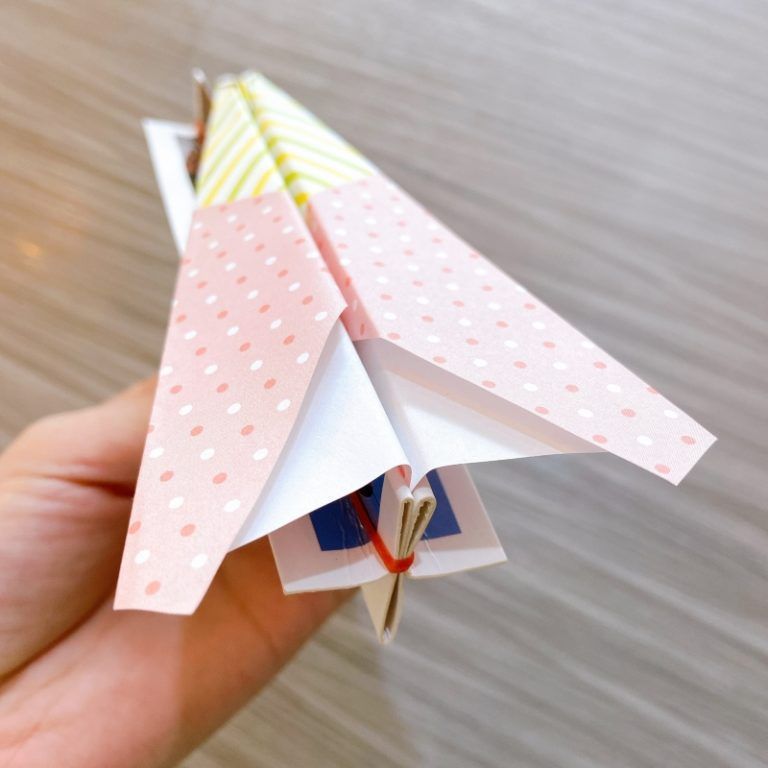
Let’s make a paper airplane first. You don’t have to follow my method, you can also make your own type of paper airplane. My airplane is relatively slender, suitable for flying like an arrow!
Origami steps
Step 1: Take out the colored paper and fold it in half
Step 2: Align to the center line and fold two small triangles
Step 3: Align the top and bottom to the center line and fold inward
Step 4: Fold a small corner inward at the front of the plane
Step 5: Fold along the center line
Step 6: Flip the wings outward and fold them close to the center line (same on both sides)
Step 7: The paper airplane is finished.
Next, let's make a super simple "catapult device" that will make your eyes light up.
Step 1: Fold the postcard in half along the long side (with the picture folded up)
Step 2: Fold outward along the long side and align the bottom edge
Step 3: Fold in the opposite direction again, aligning the top edge this time
Step 4: Use a stapler to staple the rubber band to the center line of the innermost layer (Note: Test that the rubber band is tight on the long side)
Step 5: Turn it into a slingshot
Tips for a successful launch: Place the rear of the aircraft against the side that is closest to the rubber insert.

3. How to fold a paper airplane that can “fly back”.
Prepare the materials:
Origami steps
Step 1: Fold the paper in half along its long side, making sure the crease is even, then unfold it.
Step 2: Fold the right side inwards to form a 45° diagonal line, then repeat the fold on the left side to form a balanced triangle.
Step 3: Mark a point 40mm away on the bottom of the paper, then fold the paper in half so that the top of the triangle is aligned with the marked point and press it flat.
Step 4: Fold the right wing down from the middle to form a 45° diagonal line, and then repeat the folding of the left wing.
Step 5: Open the two wings of the triangle and fold them back inward, making sure to fold them evenly on both sides.
Step 6: Fold the triangular part upwards to secure the two wings.
Step 7: Fold the front end of the plane to the marked position, then unfold it and fold it down again along the previous crease.
Step 8: Fold the paper in half again and then fold the wings of the airplane.
Step Nine: The wing fold should be horizontal, starting at the nose of the plane and parallel to the fuselage.
Step 10: Fold down 10mm at the end of the wing to create an airflow channel, then unfold the aircraft.
Flying skills:
Throw Angle: Always throw at a 20° to 30° angle, never straight up.
Throwing direction: Throw slightly to the left or right, not straight ahead.
👨👩👧👦 This is more than just origami, this is a golden moment of parent-child bonding!
Folding a paper airplane with your child is a collaborative learning journey between parents and children. From choosing paper, folding lines, adjusting angles, to every attempt and correction of flight, it is training children's observation, concentration and problem-solving ability - more importantly, your company will be the warmest memory in children's hearts❤️
Powered by AME, pictures from the Internet
Other articles:
1. [What is Olympiad Mathematics] Analyzing 4 reasons why Olympiad Mathematics makes children more "excellent"
2. [Mathematical Olympiad Questions] Free download of Mathematical Olympiad exercises detailed explanations in videos (Part 1)
3. Children's math is not good? 5 tricks to help him improve number sense, strengthen the foundation
4. International School Math|Hong Kong's only English Mathematical Olympiad|International School Math
5. [Mathematical Olympiad Questions] Free download of Mathematical Olympiad exercises detailed explanations in videos (Part 2)
6. What are STEM courses? 】Five benefits of STEM education
7. [STEM courses] Overview: What is STEM education STEM interest class recommendations
8. [STEM education]: The key to helping children win at the starting line
9. [Parent-child IQ questions] 2024 children's IQ questions will make your children's right brain turn sharply!